Workbench Administrator Tasks
TABLE OF CONTENTS
- Introduction
- Example 1: Login with user ID ADMIN and update the password.
- Example 2: Login as ADMIN and create a new general User ID.
- Example 3: Login as ADMIN, create a new Group and assign a User to that Group.
- Example 4: Login as ADMIN and create a environment.
- Example 5: Login as ADMIN and assign an environment to a group with a role.
Introduction
The GenevaERS Workbench is supplied with the user ID of ADMIN for Db2 connections. This userid has system administration rights, which means it has the authority to create and edit users, groups and environments, as well as rights to create and edit all the GenevaERS metatdata components associated with views.
Note: PostgresQL connections can be administered in the same way, but using the admin userid and password set up during PostgresQL installation.
The following guided examples build on each other.
Example 1: Login with user ID ADMIN and update the password.
- Start the GenevaERS Workbench.
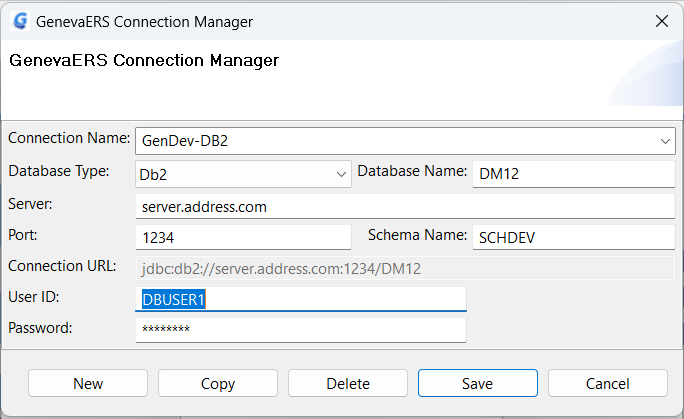
- If this is your first login to the GenevaERS Workbench, the GenevaERS Connection Manager Screen will appear. Otherwise click Manage.
- In the Connection Name field type GenDev-Db2
- From the Database Type list, select Db2
- In the Database Name field type the name of the Db2 database.
- In the Server field type the IP address or domain name of the database host system.
- In the Port field type the port number identifying the database.
- In the Schema Name field type the name of the database schema.
- In the User ID field type the User Id required to access the database. On mainframe systems, this is normally a RACF User Id.
- In the Password field type the password for the User Id above.
- Click Save
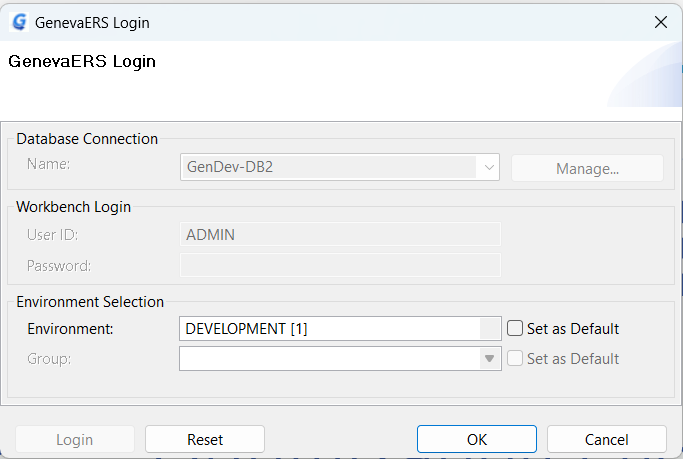
The GenevaERS login screen will appear.
- In Database Connection > Name the name GenDev-Db2 will be displayed.
- In Workbench Login > User ID type ADMIN.
- Leave Workbench Login > Password as blank. (Initially there is no password for ADMIN.)
- Click Login
Now you have logged on to the database you can select the GenevaERS environment. - From Environment Selection > Environment select Development[1]. This is the default environment created at Workbench installation. Note: There is no option to select a Group at this point, because ADMIN is a system administrator user ID.
- Click OK.
You are now logged on to the GenevaERS Workbench. Update the password for ADMIN:
- In the Navigator pane, click Administration > Users
A list of Users will appear in the Metadata List area. - Double-click on User ADMIN
The User definition will open in the Editor Area. - Update the Password field.
- Save the User definition File > Save
Example 2: Login as ADMIN and create a new general User ID.
- Start the GenevaERS Workbench.
- In Database Connection > Name select GenDev-Db2.
- In Workbench Login > User ID type ADMIN.
- In Workbench Login > Password type the password (or leave blank if you have not set a password).
- Click Login
Now you have logged on to the database you can select the GenevaERS environment. - From Environment Selection > Environment select Development[1]. This is the default environment created at Workbench installation. Note: There is no option to select a Group at this point, because ADMIN is a system administrator user ID.
- Click OK.
You are now logged on to the GenevaERS Workbench. Create a new User ID:
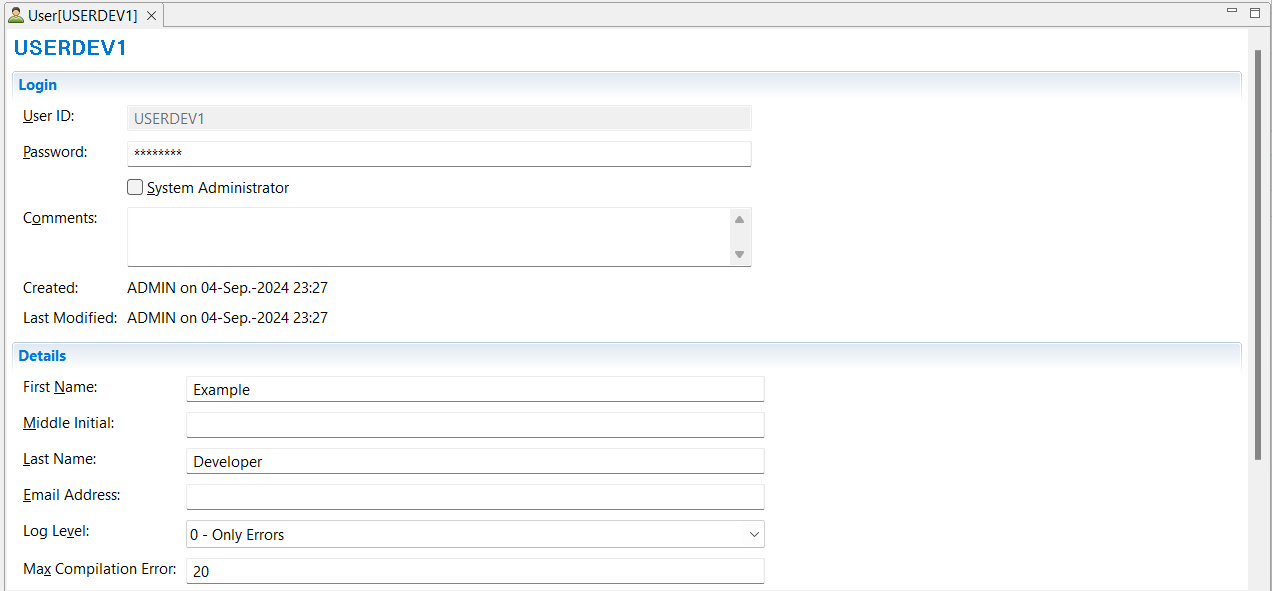
- Select Administration > New > User
- In the Name field type USERDEV1. This user is going to be assigned to a developer group.
- In the Password field type PASSDEV1 as an initial password.
- We are specifying a general user, so the System Administrator checkbox is not selected.
- In the First Name field type Example.
- In the Last Name field type Developer.
- Save the user definition File > Save.
A new general user must be added as a member of at least one group before it can be used. This is shown in the next example. Note that a system administrator does not need to be a member of a group.
Example 3: Login as ADMIN, create a new Group and assign a User to that Group.
Login as ADMIN. See Example 2 above.
- Select Administration > New > Group.
- In the Name field type Developer_Group.
- Save the group definition File > Save.

You can now assign the user to this group. You can view and add users to groups by selecting a group and viewing and editing the associated users list, or, you can view the user and edit the associated Groups list. Here we will add the user to the group.
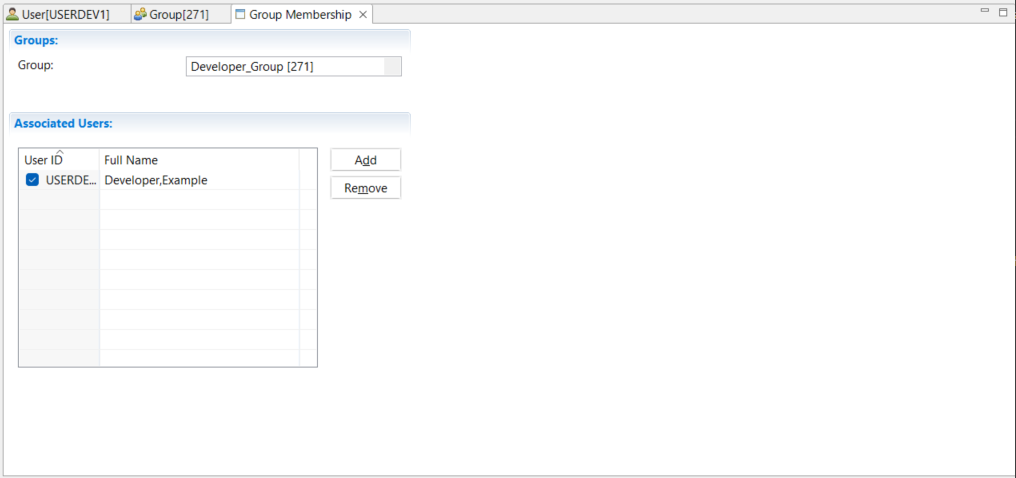
- Select Administration > Group Security > Membership by Group…
- In the Group field, select Developer_Group from the drop down box.
- Click in the Associated Users table, then click Add.
- Select the checkbox by the User ID USERDEV1, then click OK.
- Save the group membership definition File > Save.
Example 4: Login as ADMIN and create a environment.
Login as ADMIN. See Example 2 above.
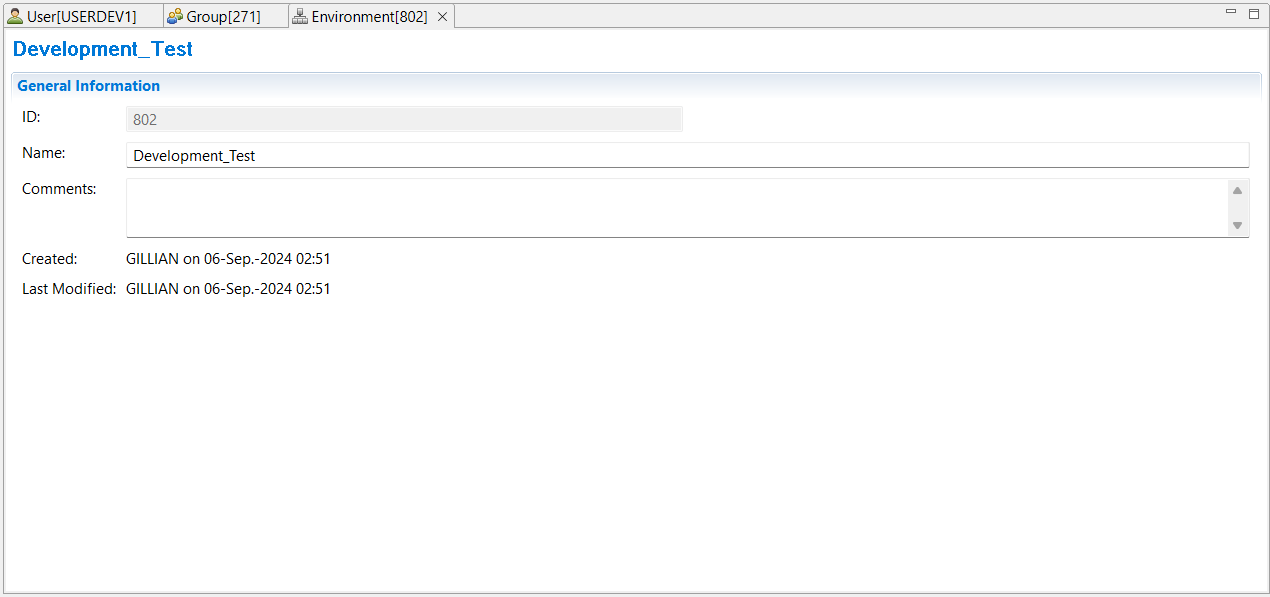
- Select Administration > New > Environment.
- In the Name field type Development_Test.
- Save the group definition File > Save.
Example 5: Login as ADMIN and assign an environment to a group with a role.
Login as ADMIN. See Example 2 above.
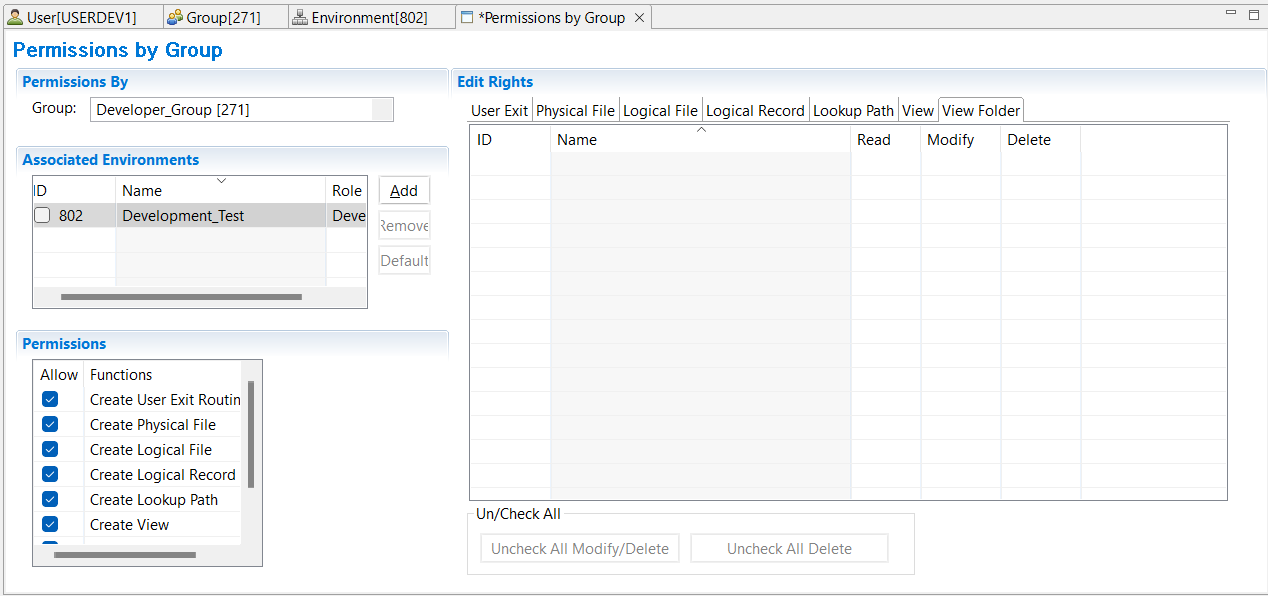
- Select Administration > Group Security > Permissions by Group…
- In the Group field, select a Developer_Group from the drop down box. You can sort the list by clicking on ID or Name in the header of the list.
- Click in the Associated Environments table, then click Add.
- In the window “Select components to be associated” select the checkbox by the environment Development_Test, then click OK.
- Assign a Role that members of this group will have in this environment. Select Developer from the drop down list in the Role column..
- Save the default permissions for the developer role File > Save.
For more information on Workbench security see Workbench Security Overview and Create Users, Groups and Permissions.